Article
k8s harbor config on centos6
# 前传
前面有写在 centos6 安装k8s的文章,后来重启一台worker节点后该节点的网络就不通了 ** connect: Invalid argument ** 。更新到最新的0.7.0后worker节点重启网络都能正常连通。
言归正传,来说说harbor的安装。想的是安装一个类似maven私服的功能(原来都是一台机一台机的save/load,麻烦):
- 本来安装registry就好了,每次都要加端口很烦有没有!!!
- 弄了个service整到80端口,还得加 ** --insecure-registry ** 参数。还行吧,但是没有图形界面
- 好了,看到有人用nexus3做docker私服。主要吧真没弄通,第二nexus3不会用!反正就是没搭成功了。
- 本来前面有看到过vmware harbor,但是官网说是要docker1.10+的,差点就打消念头了,但是nexus3实在是搞不懂,只能硬着头皮尝试下harbor。
这hardor是一坑货啊,功能是狠牛逼但是文档版本都对不上的!!!
这里还是在 centos6 上面安装。并且老版本k8s-1.2各种配置不能用,一个个坑填的好苦!行,先爽一把,看看修改后的简单的安装操作流程:
# 简单配置
版本信息
[root@cu2 ~]# lsb_release -a
LSB Version:    :base-4.0-amd64:base-4.0-noarch:core-4.0-amd64:core-4.0-noarch:graphics-4.0-amd64:graphics-4.0-noarch:printing-4.0-amd64:printing-4.0-noarch
Distributor ID: CentOS
Description:    CentOS release 6.8 (Final)
Release:        6.8
Codename:       Final
[root@cu2 ~]# docker version
Client version: 1.7.1
Client API version: 1.19
Go version (client): go1.4.2
Git commit (client): 786b29d/1.7.1
OS/Arch (client): linux/amd64
Server version: 1.7.1
Server API version: 1.19
Go version (server): go1.4.2
Git commit (server): 786b29d/1.7.1
OS/Arch (server): linux/amd64
- 创建CA和证书
[root@cu2 kubernetes]# git clone https://github.com/OpenVPN/easy-rsa.git

[root@cu2 easyrsa3]# ./easyrsa init-pki
[root@cu2 easyrsa3]# ./easyrsa build-ca #记住输入的密码,下面颁发证书还会用到

[root@cu2 easyrsa3]# ./easyrsa gen-req cu nopass
[root@cu2 easyrsa3]# ./easyrsa sign-req server cu #commonName填将要用到的域名咯

生成的key和证书在pki/private和pki/issued下
- 下载配置
git clone https://github.com/winse/docker-hadoop.git
cd docker-hadoop/k8s-centos6/containers/harbor-make/
- 修改harbor.cfg配置
把 域名 和 证书路径 修改成自己的。
- 生成ConfigMaps配置
scl enable python27 bash
python2.7 kubernetes/prepare
- 创建服务和容器
这里需要先下载官网的离线包harbor-offline-installer-0.5.0.tgz,加载harbor.0.5.0.tgz里面的镜像
[root@cu2 harbor]# docker images
REPOSITORY                                            TAG                 IMAGE ID            CREATED             VIRTUAL SIZE
gcr.io/google_containers/heapster-grafana-amd64       v4.0.2              74d2c72849cc        7 weeks ago         131.5 MB
gcr.io/google_containers/heapster-influxdb-amd64      v1.1.1              55d63942e2eb        7 weeks ago         11.59 MB
gcr.io/google_containers/heapster-amd64               v1.3.0-beta.1       026fb02eca65        7 weeks ago         101.3 MB
quay.io/coreos/flannel                                v0.7.0-amd64        072e88d50780        8 weeks ago         73.75 MB
gcr.io/google_containers/kubernetes-dashboard-amd64   v1.5.1              9af7d5c61ccf        8 weeks ago         103.6 MB
vmware/harbor-log                                     0.5.0               5cccdd11efe0        3 months ago        190.5 MB
vmware/harbor-jobservice                              0.5.0               573d0bbd91ee        3 months ago        169.4 MB
vmware/harbor-ui                                      0.5.0               990d3476bf93        3 months ago        233 MB
vmware/harbor-db                                      0.5.0               9a595c26d6bc        3 months ago        326.8 MB
nginx                                                 1.11.5              98f8314de615        4 months ago        181.4 MB
gcr.io/google_containers/hyperkube-amd64              v1.2.7              1dd7250ed1b3        4 months ago        231.4 MB
quay.io/coreos/flannel                                v0.6.1-amd64        ef86f3a53de0        6 months ago        27.89 MB
gcr.io/google_containers/etcd-amd64                   3.0.4               ef5e89d609f1        7 months ago        39.62 MB
registry                                              2.5.0               8cc599785872        7 months ago        33.28 MB
gcr.io/google_containers/kube2sky-amd64               1.15                f93305484d65        10 months ago       29.16 MB
gcr.io/google_containers/etcd-amd64                   2.2.5               a6752fb962b5        11 months ago       30.45 MB
gcr.io/google_containers/skydns-amd64                 1.0                 a925f95d080a        11 months ago       15.57 MB
gcr.io/google_containers/exechealthz-amd64            1.0                 5b9ac190b20c        11 months ago       7.116 MB
gcr.io/google_containers/pause                        2.0                 9981ca1bbdb5        17 months ago       350.2 kB

---

cd kubernetes/
sh apply.sh
- 手动修复容器的配置文件
sh config.sh
CentOS6-K8S上面麻烦点,在CentOS7-K8S_V1.5+上面ConfigMap Volumn是可以用的,就不需要自己手动拷贝配置了。
- 使用
[root@cu2 easyrsa3]# kubectl get services
NAME         CLUSTER-IP   EXTERNAL-IP   PORT(S)             AGE
jobservice   10.0.0.154   <none>        80/TCP              1d
kubernetes   10.0.0.1     <none>        443/TCP             2d
mysql        10.0.0.176   <none>        3306/TCP            1d
nginx        10.0.0.78    <none>        80/TCP,443/TCP      1d
registry     10.0.0.46    <none>        5000/TCP,5001/TCP   1d
ui           10.0.0.11    <none>        80/TCP              1d

# 域名
[root@cu3 ~]# vi /etc/hosts
10.0.0.78 cu.esw.cn

# 证书
[root@cu3 ~]# mkdir -p /etc/docker/certs.d/cu.esw.cn/

[root@cu2 pki]# scp ca.crt cu3:/etc/docker/certs.d/cu.esw.cn/

# 登录
[root@cu3 certs.d]# docker login cu.esw.cn
Username: admin
Password: Harbor12345
Email: 1
WARNING: login credentials saved in /root/.docker/config.json
Login Succeeded

# https://cu.esw.cn 通过WEB页面创建项目 google_containers

# PUSH
[root@cu3 certs.d]# docker tag gcr.io/google_containers/pause:2.0 cu.esw.cn/google_containers/pause:2.0

[root@cu3 certs.d]# docker push cu.esw.cn/google_containers/pause:2.0
The push refers to a repository [cu.esw.cn/google_containers/pause] (len: 1)
9981ca1bbdb5: Image already exists
6995a49b90f2: Image successfully pushed
Digest: sha256:139471770ffc22a2f15ae2ad8e3a0b3b9cbd620ad32400c7e8024a3d09ebec7d
# ------ 下面是记流水账内容 ------
# 简单搭建配置
参考阅读
- 在 KUBERNETES 上的部署 VMWare Harbor
- 主干文档 Integration with Kubernetes
- https://github.com/vmware/harbor/blob/master/docs/installation_guide.md
- https://github.com/vmware/harbor/tree/00259567a8b59758930950440a0ecfd6061db485/make/kubernetes
简略步骤:
- 下载0.5.0的离线压缩包 harbor-offline-installer-0.5.0.tgz
- 把镜像加载到本地(解压offline后在目录下有tgz的镜像压缩包)
docker load -i harbor.0.5.0.tgz - 下载github主干的源码 harbor-master.zip ,对是主干,不是release页面的源码!!!(香菇,release源码包里面的k8s配置文件尽然是不配套的,那打什么版本咯!!文档也不说明下。非常非常感谢 www.zoues.com 博主,这才是明灯啊)
- 安装python2.7(prepare脚本需要)
yum install centos-release-scl; yum install -y python27 - 解压进入到 harbor-master/make 目录
- 修改harbor.cfg文件配置。(这里我就改了域名而已,会有https的问题。先不管跑起来先,后面在讲https的处理)
- 执行prepare脚本,用于生成配置键值对cm文件(ConfigMaps)。
[root@cu2 make]# python kubernetes/prepare
Traceback (most recent call last):
  File "kubernetes/prepare", line 145, in <module>
    pkey = subprocess.check_output(['openssl','genrsa','4096'], stderr=devnull)
AttributeError: 'module' object has no attribute 'check_output'

> Python should be version 2.7 or higher. Note that you may have to install Python on Linux distributions (Gentoo, Arch) that do not come with a Python interpreter installed by default

https://github.com/h2oai/h2o-2/wiki/installing-python-2.7-on-centos-6.3.-follow-this-sequence-exactly-for-centos-machine-only
https://gist.github.com/dalegaspi/dec44117fa5e7597a559  我按这个小写的安装的
[root@cu2 make]# yum install centos-release-scl
[root@cu2 make]# yum install -y python27

[root@cu2 make]# scl enable python27 bash
[root@cu2 make]# /opt/rh/python27/root/usr/bin/python -V
Python 2.7.8

[root@cu2 make]# less harbor.cfg

[root@cu2 make]# /opt/rh/python27/root/usr/bin/python kubernetes/prepare
Warning: Key(ldap_searchdn) is not existing. Use empty string as default
Warning: Key(ldap_search_pwd) is not existing. Use empty string as default
Warning: Key(ldap_filter) is not existing. Use empty string as default
- 然后就是愉快的执行apply就好:
kubectl apply -f pv/

kubectl apply -f jobservice/jobservice.cm.yaml
kubectl apply -f mysql/mysql.cm.yaml
kubectl apply -f nginx/nginx.cm.yaml
kubectl apply -f registry/registry.cm.yaml
kubectl apply -f ui/ui.cm.yaml

kubectl apply -f jobservice/jobservice.svc.yaml
kubectl apply -f mysql/mysql.svc.yaml
kubectl apply -f nginx/nginx.svc.yaml
kubectl apply -f registry/registry.svc.yaml
kubectl apply -f ui/ui.svc.yaml

kubectl apply -f registry/registry.rc.yaml
kubectl apply -f mysql/mysql.rc.yaml
kubectl apply -f jobservice/jobservice.rc.yaml
kubectl apply -f ui/ui.rc.yaml
kubectl apply -f nginx/nginx.rc.yaml
由于ConfigMaps方式不能正确的创建文件需要把配置文件拷贝到对应容器的config目录下:
sh config.sh
除了nginx报https的证书问题外,其他都正常跑起来了。把nginx.conf的https server部分先删掉,先查看效果。
[root@cu2 kubernetes]# kubectl get rc
NAME            DESIRED   CURRENT   AGE
jobservice-rc   1         1         4h
mysql-rc        1         1         4h
nginx-rc        1         1         4h
registry-rc     1         1         4h
ui-rc           1         1         4h
[root@cu2 kubernetes]# kubectl get pods
NAME                       READY     STATUS    RESTARTS   AGE
jobservice-rc-3hhea        1/1       Running   0          4h
k8s-master-192.168.0.214   4/4       Running   28         2d
k8s-proxy-192.168.0.214    1/1       Running   4          2d
mysql-rc-nyk6z             1/1       Running   0          4h
nexus-3126345715-mfteg     1/1       Running   0          2d # 这个是maven私服
nginx-rc-93cdr             1/1       Running   15         4h
registry-rc-qbdfk          1/1       Running   12         4h
ui-rc-7e76i                1/1       Running   10         4h

[root@cu2 kubernetes]# kubectl get services nginx
NAME      CLUSTER-IP   EXTERNAL-IP   PORT(S)          AGE
nginx     10.0.0.78    <none>        80/TCP,443/TCP   1d
访问nginx:
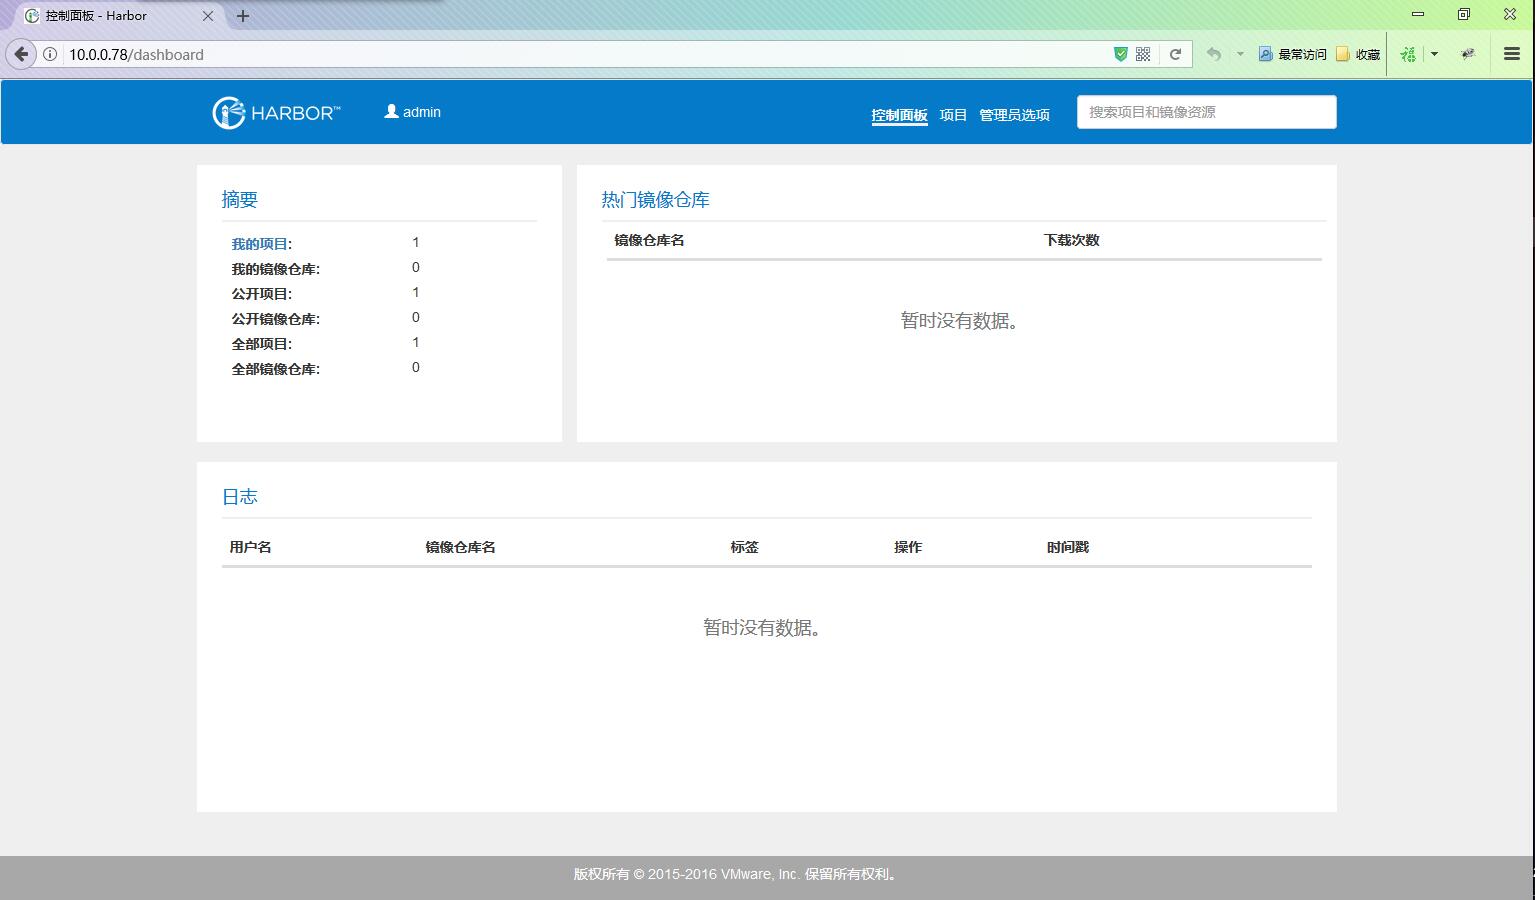
安装完了后,使用harbor.cfg配置文件里面的admin和密码进行登录。然后看看官网的操作文档 https://github.com/vmware/harbor/blob/master/docs/user_guide.md
现在PUSH要加 --insecure-registry 参数,还得重启docker太麻烦了。等下先弄https,搞好后添加证书直接push比较爽。
# 修改配置过程中遇到的一些问题
pvc在v1.2的时刻不支持selector。使用volumeName属性来代替。
- https://kubernetes.io/docs/tasks/configure-pod-container/configure-persistent-volume-storage/
- https://kubernetes.io/docs/user-guide/persistent-volumes/#persistentvolumeclaims
- https://github.com/kubernetes/kubernetes/tree/v1.2.7/docs/user-guide/persistent-volumes/claims
- https://kubernetes.io/docs/resources-reference/v1.5/#persistentvolumeclaim-v1
- http://blog.fleeto.us/translation/persistent-volumes
巨坑,键名对不能用下划线、不能大写字母,到1.4才修复。
configmap~volumn用于创建volumns好像有问题,没有创建对应文件。
- https://kubernetes.io/docs/user-guide/configmap/
- http://stackoverflow.com/questions/36187624/kubernetes-configmap-volume-doesnt-create-file-in-container
在1.5.3上面是可以生成的。。。囧,相比puppet的文档,k8s的文档真的差了十万八千里啊!!!
[root@k8s kube-deploy]# kubectl logs nginx-rc-fr52v
https.crt
https.key
nginx.conf
后面看到nginx的v1.2用了secrets修改后也不行。
- https://github.com/kubernetes/kubernetes/blob/release-1.2/examples/https-nginx/nginx-app.yaml 看到1.2使用secret volumes
- https://github.com/kubernetes/kubernetes/blob/52f4d3806919e4ec16cb17336a1802461cf40a46/test/kubemark/resources/hollow-node_template.yaml
- https://kubernetes.io/docs/user-guide/secrets/
- https://kubernetes.io/docs/user-guide/configmap/
- https://kubernetes.io/docs/tasks/configure-pod-container/downward-api-volume-expose-pod-information/
其实就是docker版本老的不支持shared,其实在kubelet的容器里面是创建了对应的文件的:
# docker logs
I0316 08:22:19.729825   13206 volumes.go:279] Used volume plugin "kubernetes.io/configmap" to mount config
I0316 08:22:19.729860   13206 configmap.go:118] Setting up volume config for pod cfe8b3f6-09fb-11e7-bdde-020047eb000e at /var/lib/kubelet/pods/cfe8b3f6-09fb-11e7-bdde-020047eb000e/volumes/kubernetes.io~configmap/config
I0316 08:22:19.729915   13206 volumes.go:279] Used volume plugin "kubernetes.io/empty-dir" to mount wrapped_config
...
I0316 08:22:19.733309   13206 configmap.go:145] Received configMap default/harbor-ui-config containing (30) pieces of data, 3739 total bytes
I0316 08:22:19.733470   13206 atomic_writer.go:316] /var/lib/kubelet/pods/cfe8b3f6-09fb-11e7-bdde-020047eb000e/volumes/kubernetes.io~configmap/config: current paths:   [app.conf private_key.pem]
I0316 08:22:19.733493   13206 atomic_writer.go:328] /var/lib/kubelet/pods/cfe8b3f6-09fb-11e7-bdde-020047eb000e/volumes/kubernetes.io~configmap/config: new paths:       [app.conf private_key.pem]
I0316 08:22:19.733502   13206 atomic_writer.go:331] /var/lib/kubelet/pods/cfe8b3f6-09fb-11e7-bdde-020047eb000e/volumes/kubernetes.io~configmap/config: paths to remove: map[]
I0316 08:22:19.733552   13206 atomic_writer.go:136] pod default/ui-rc-psjzs volume config: no update required for target directory /var/lib/kubelet/pods/cfe8b3f6-09fb-11e7-bdde-020047eb000e/volumes/kubernetes.io~configmap/config

[root@cu3 config]# docker exec -ti b34c51260dda bash
root@cu3:/# ls -al /var/lib/kubelet/pods/cfe8b3f6-09fb-11e7-bdde-020047eb000e/volumes/kubernetes.io~configmap/config
total 4
drwxrwxrwt 3 root root  120 Mar 16 04:08 .
drwxr-xr-x 3 root root 4096 Mar 16 04:08 ..
drwxr-xr-x 2 root root   80 Mar 16 04:08 ..3983_16_03_04_08_50.565987072
lrwxrwxrwx 1 root root   31 Mar 16 04:08 ..data -> ..3983_16_03_04_08_50.565987072
lrwxrwxrwx 1 root root   15 Mar 16 04:08 app.conf -> ..data/app.conf
lrwxrwxrwx 1 root root   22 Mar 16 04:08 private_key.pem -> ..data/private_key.pem
最后放弃了,直接用脚本来创建文件,然后把文件拷贝到对应的机器。
[root@cu2 kubernetes]# cd harbor-make/kubernetes/
[root@cu2 kubernetes]# sh config.sh
# HTTPS
生成CA和证书
[root@cu2 kubernetes]# git clone https://github.com/OpenVPN/easy-rsa.git

https://github.com/OpenVPN/easy-rsa/blob/master/README.quickstart.md

[root@cu2 easyrsa3]# ll
total 56
-rwxr-xr-x 1 root root 35253 Mar 13 01:04 easyrsa
-rw-r--r-- 1 root root  4560 Mar 13 01:04 openssl-1.0.cnf
-rw-r--r-- 1 root root  8126 Mar 13 01:04 vars.example
drwxr-xr-x 2 root root  4096 Mar 13 01:04 x509-types
[root@cu2 easyrsa3]# ./easyrsa init-pki

init-pki complete; you may now create a CA or requests.
Your newly created PKI dir is: /data/kubernetes/easy-rsa/easyrsa3/pki

[root@cu2 easyrsa3]# ./easyrsa build-ca
Generating a 2048 bit RSA private key
.............................+++
..............................................+++
writing new private key to '/data/kubernetes/easy-rsa/easyrsa3/pki/private/ca.key.Nj5oHgfZC5'
Enter PEM pass phrase: 123456
Verifying - Enter PEM pass phrase: 123456
-----
You are about to be asked to enter information that will be incorporated
into your certificate request.
What you are about to enter is what is called a Distinguished Name or a DN.
There are quite a few fields but you can leave some blank
For some fields there will be a default value,
If you enter '.', the field will be left blank.
-----
Common Name (eg: your user, host, or server name) [Easy-RSA CA]:esw.cn

CA creation complete and you may now import and sign cert requests.
Your new CA certificate file for publishing is at:
/data/kubernetes/easy-rsa/easyrsa3/pki/ca.crt

[root@cu2 easyrsa3]# ./easyrsa gen-req cu nopass
Generating a 2048 bit RSA private key
..........+++
.................................+++
writing new private key to '/data/kubernetes/easy-rsa/easyrsa3/pki/private/cu.key.LQX3Dr2jG3'
-----
You are about to be asked to enter information that will be incorporated
into your certificate request.
What you are about to enter is what is called a Distinguished Name or a DN.
There are quite a few fields but you can leave some blank
For some fields there will be a default value,
If you enter '.', the field will be left blank.
-----
Common Name (eg: your user, host, or server name) [cu]:cu.esw.cn

Keypair and certificate request completed. Your files are:
req: /data/kubernetes/easy-rsa/easyrsa3/pki/reqs/cu.req
key: /data/kubernetes/easy-rsa/easyrsa3/pki/private/cu.key

[root@cu2 easyrsa3]# ./easyrsa sign-req server cu

You are about to sign the following certificate.
Please check over the details shown below for accuracy. Note that this request
has not been cryptographically verified. Please be sure it came from a trusted
source or that you have verified the request checksum with the sender.

Request subject, to be signed as a server certificate for 3650 days:

subject=
    commonName                = cu.esw.cn

Type the word 'yes' to continue, or any other input to abort.
  Confirm request details: yes
Using configuration from /data/kubernetes/easy-rsa/easyrsa3/openssl-1.0.cnf
Enter pass phrase for /data/kubernetes/easy-rsa/easyrsa3/pki/private/ca.key:
Check that the request matches the signature
Signature ok
The Subject's Distinguished Name is as follows
commonName            :PRINTABLE:'cu.esw.cn'
Certificate is to be certified until Mar 10 23:36:42 2027 GMT (3650 days)

Write out database with 1 new entries
Data Base Updated

Certificate created at: /data/kubernetes/easy-rsa/easyrsa3/pki/issued/cu.crt

[root@cu2 easyrsa3]#

这里得用签发server端证书,如果是client使用时会报错: v2 ping attempt failed with error: Get https://cu.esw.cn/v2/: x509: certificate specifies an incompatible key usage

[root@cu2 easyrsa3]# tree .
.
├── easyrsa
├── openssl-1.0.cnf
├── pki
│   ├── ca.crt
│   ├── certs_by_serial
│   │   └── 01.pem
│   ├── index.txt
│   ├── index.txt.attr
│   ├── index.txt.old
│   ├── issued
│   │   └── cu.crt
│   ├── private
│   │   ├── ca.key
│   │   └── cu.key
│   ├── reqs
│   │   └── cu.req
│   ├── serial
│   └── serial.old
├── vars.example
└── x509-types
    ├── ca
    ├── client
    ├── COMMON
    └── server

6 directories, 18 files
重新执行以下上面的步骤,配置关联比较多。https和http请求地址会有冲突。
重新配置后,把ca.cert拷贝到docker节点,然后登录、创建项目、提交项目即可。最开始有帖操作的代码,这里不重复了。
–END
Related
Related posts
-
android linux via termux
2019-07-26
-
try bk.tencent.com
2019-04-10
-
命令行调用Jenkins2.63打包
2017-08-30
-
NFS on centos7
2017-08-05